VMware Install Instructions
What is VMware?
Horizon 7 VMware provides users access to all of their virtual desktops, applications, and online services through a single digital workspace. You can access your Trocaire College drives, software, and databases from anywhere using an internet enabled device.
Installing the VMware Horizon Client
Step 1 – Open a web browser of your choice (Ex: Google Chrome, Microsoft Edge, Firefox, Etc).
Step 2 – Type https://horizon.trocaire.edu in the address bar near the top of the browser.
![]()
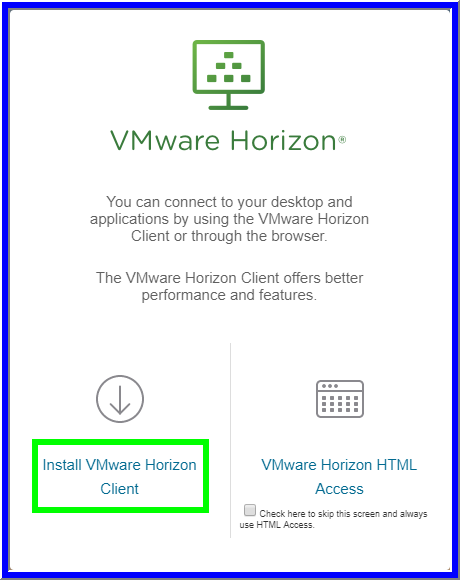
Step 3 – Select Install VMware Horizon Client.
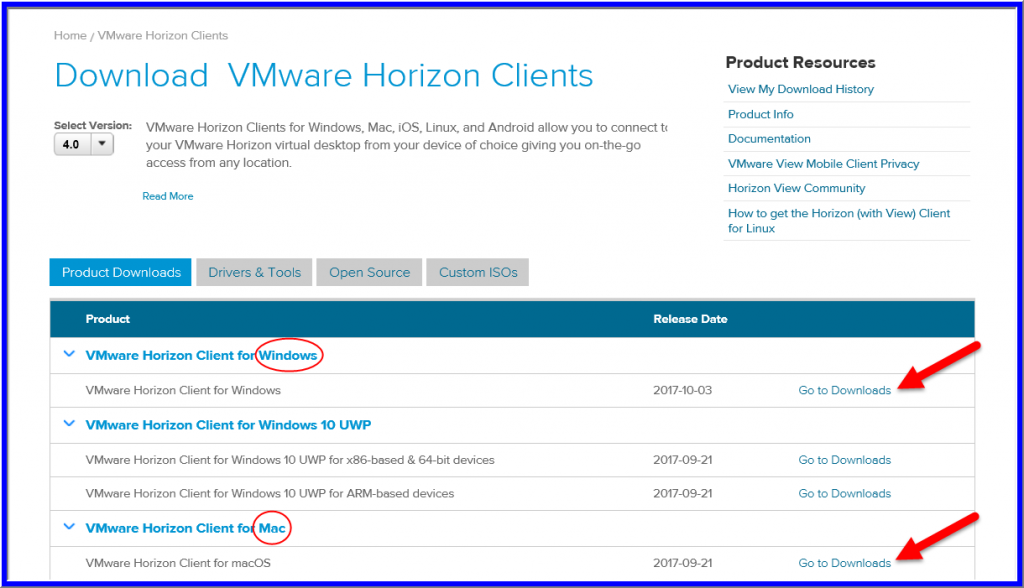
Step 4 – You will be brought to the VMware downloads page. Select Go to Downloads for the VMware Horizon Client which matches your computer’s operating system (Windows & Mac computers are supported).
Step 5 – Select the Download button, then follow the on-screen instructions to download and save the file to your computer.

Step 6 – Locate the saved .EXE file on your computer and run the application. Select Agree & Install, allow the program to install and then select Finish*. You will be prompted to restart you PC. Please save any work you may have open and restart the PC.
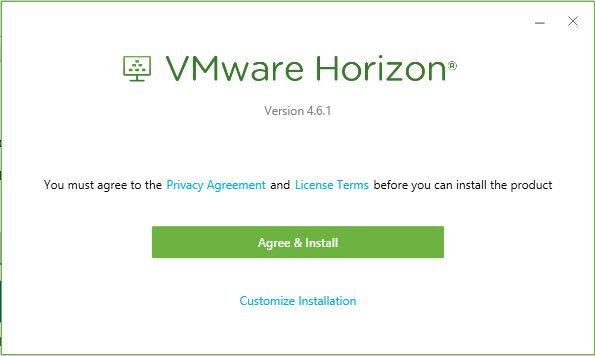
*Note: You will need administrator rights on your computer to complete the installation.
Logging in and Connecting to VMware
Step 1 – Open the VMware Horizon client from the desktop shortcut:
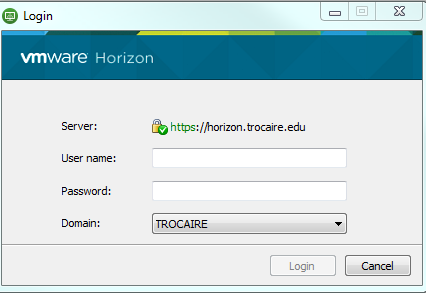
Step 2 – Select New Server. Under Enter the name of the Connection Server, add horizon.trocaire.edu and then connect.
![]()

Step 3 – Enter your Trocaire username and password to log in. The available applications will be displayed. These credentials are the same as when you log into Webmail or on to a computer on campus.